Precision 3460 - Cooling upgrades
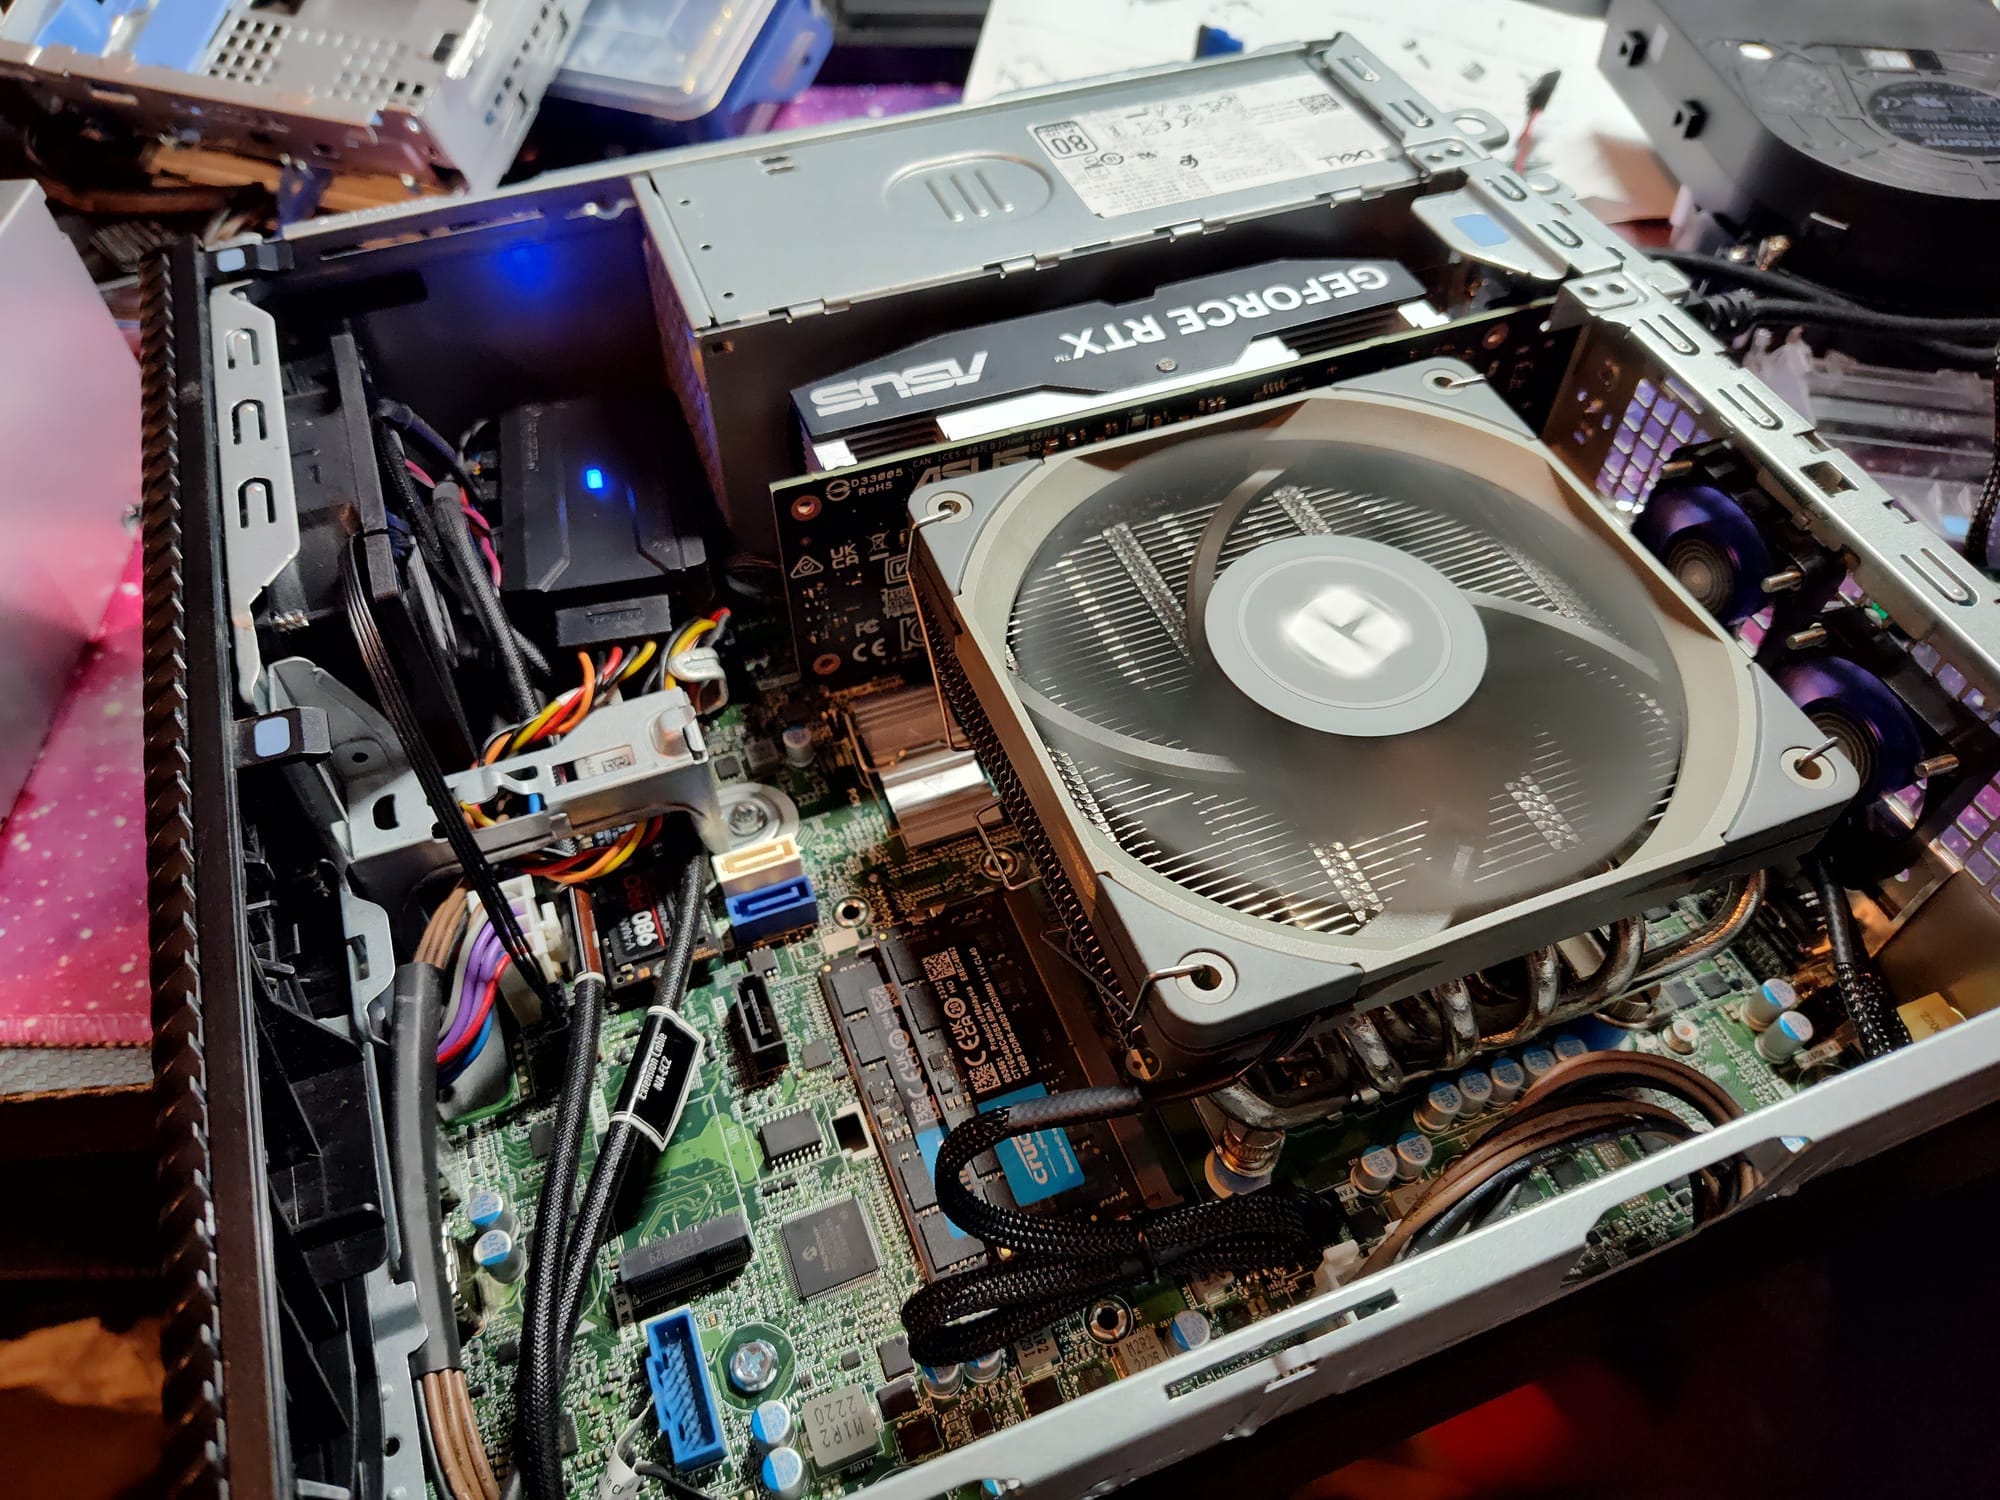
This is going to be a long post because I made a lot of changes at once and want to document how the project is going. I stripped everything except for the motherboards, RAM and SSDs. Note that the SSD mounting screws also double up to hold the motherboard to the chassis, so you'll need to remove any M.2 SSDs and the mounting screws before removing the motherboard.
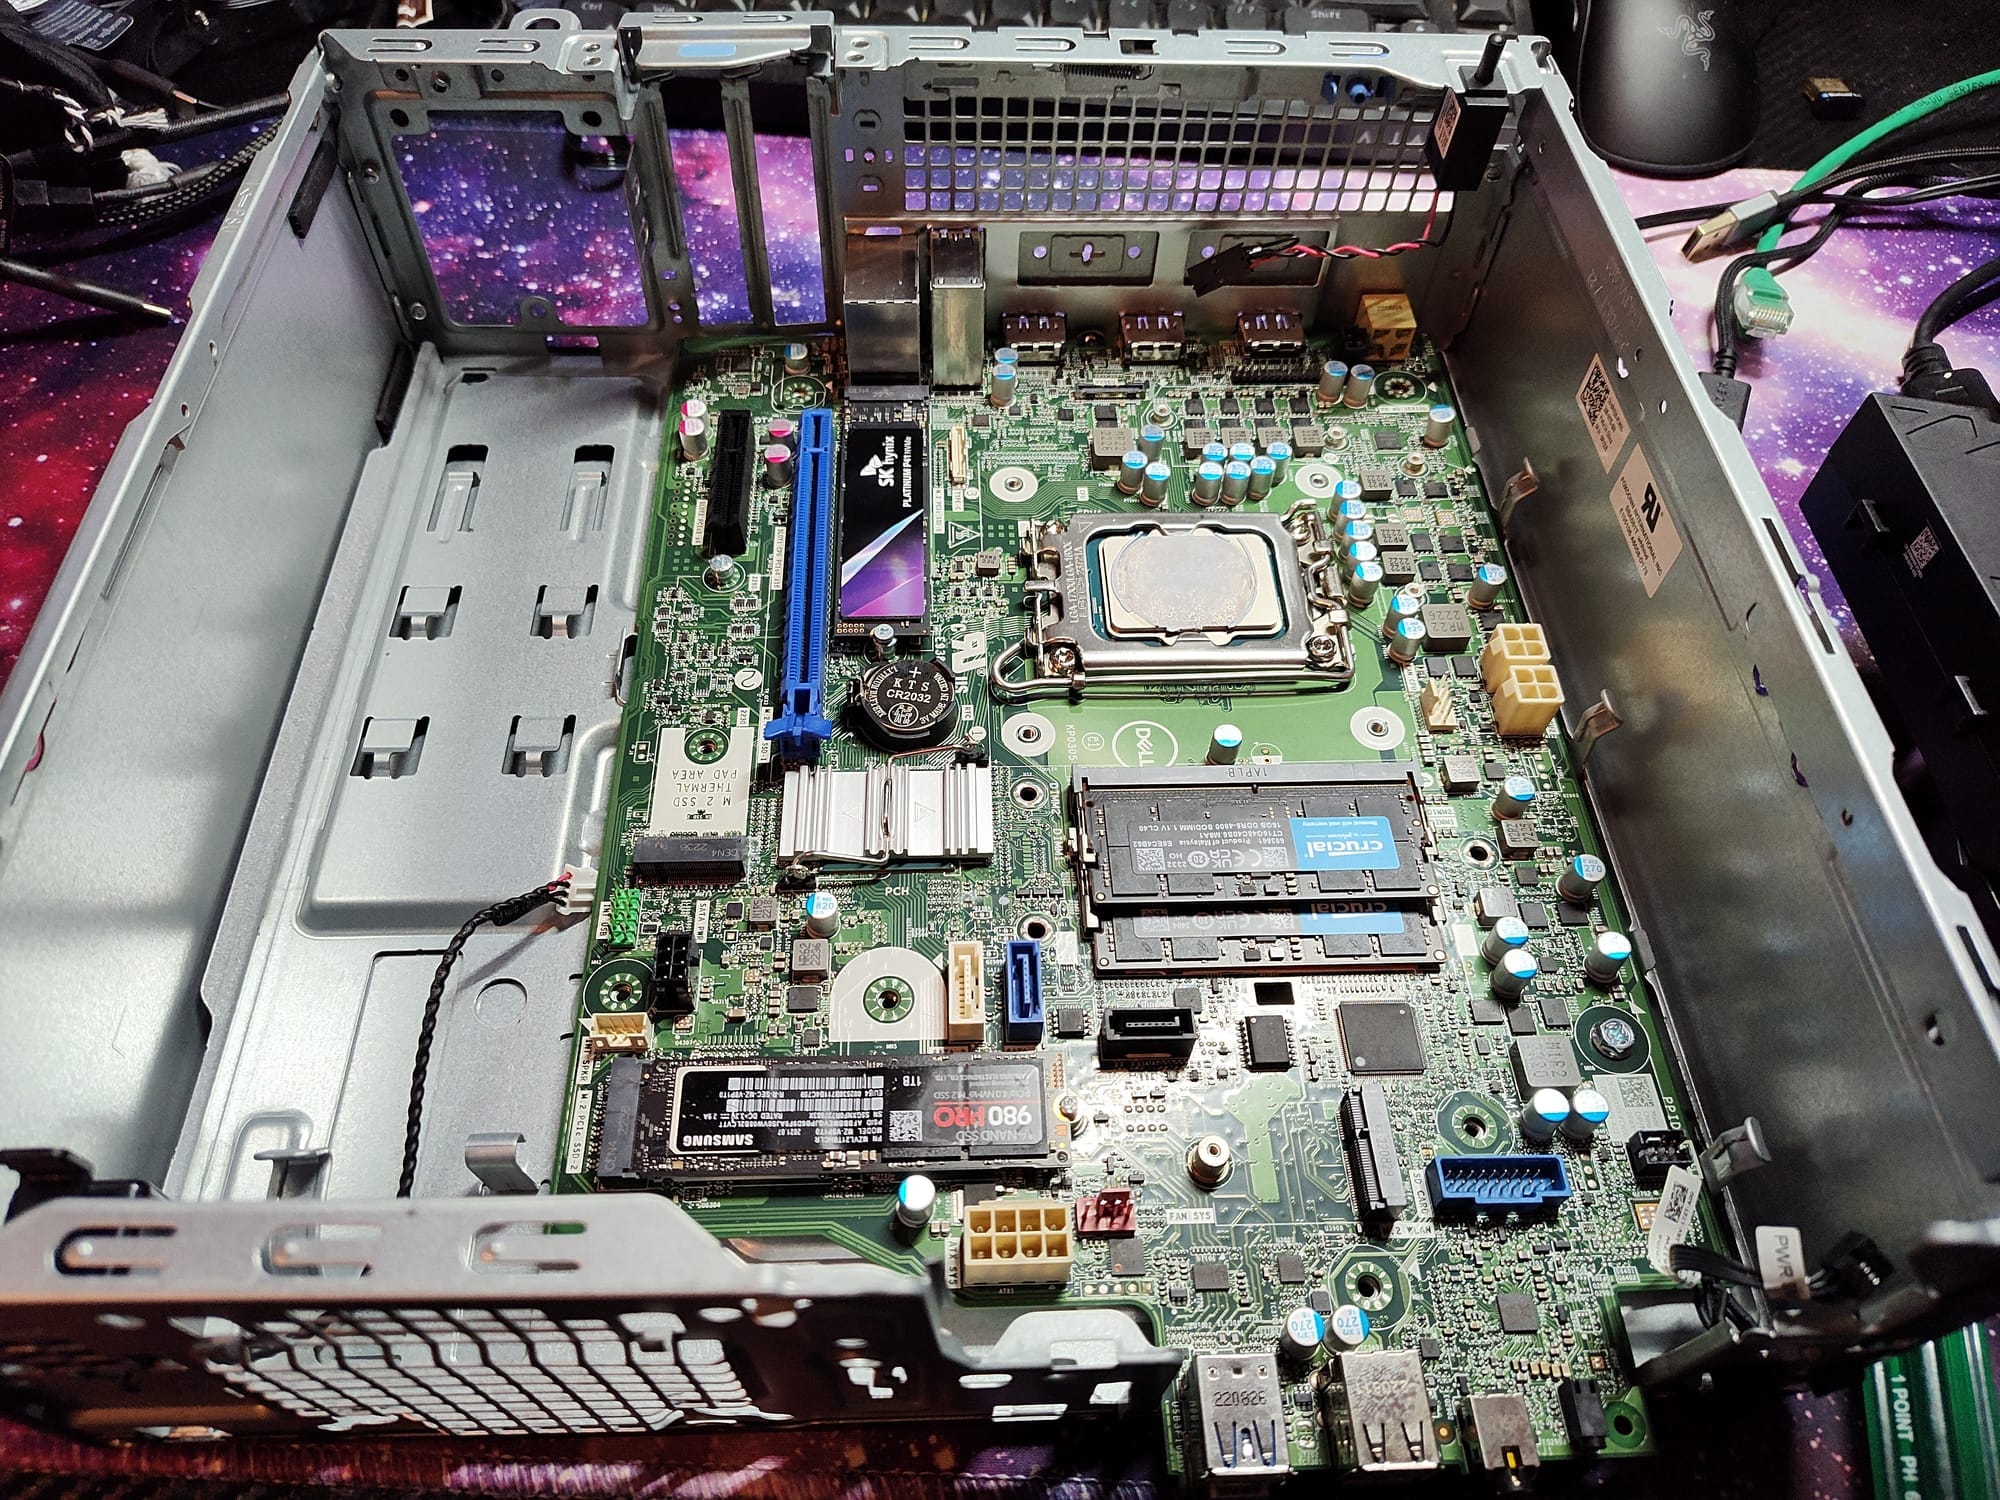
Removing the motherboard was straight forward, just pull it towards the front a little and lift it up. It shouldn't feel too tight, if it does make sure you've got all of the screws. Dell has detailed steps on their support site if you don't want to risk it. After removing the motherboard I got to work on the cooler mounting and then cleaning up the CPU.
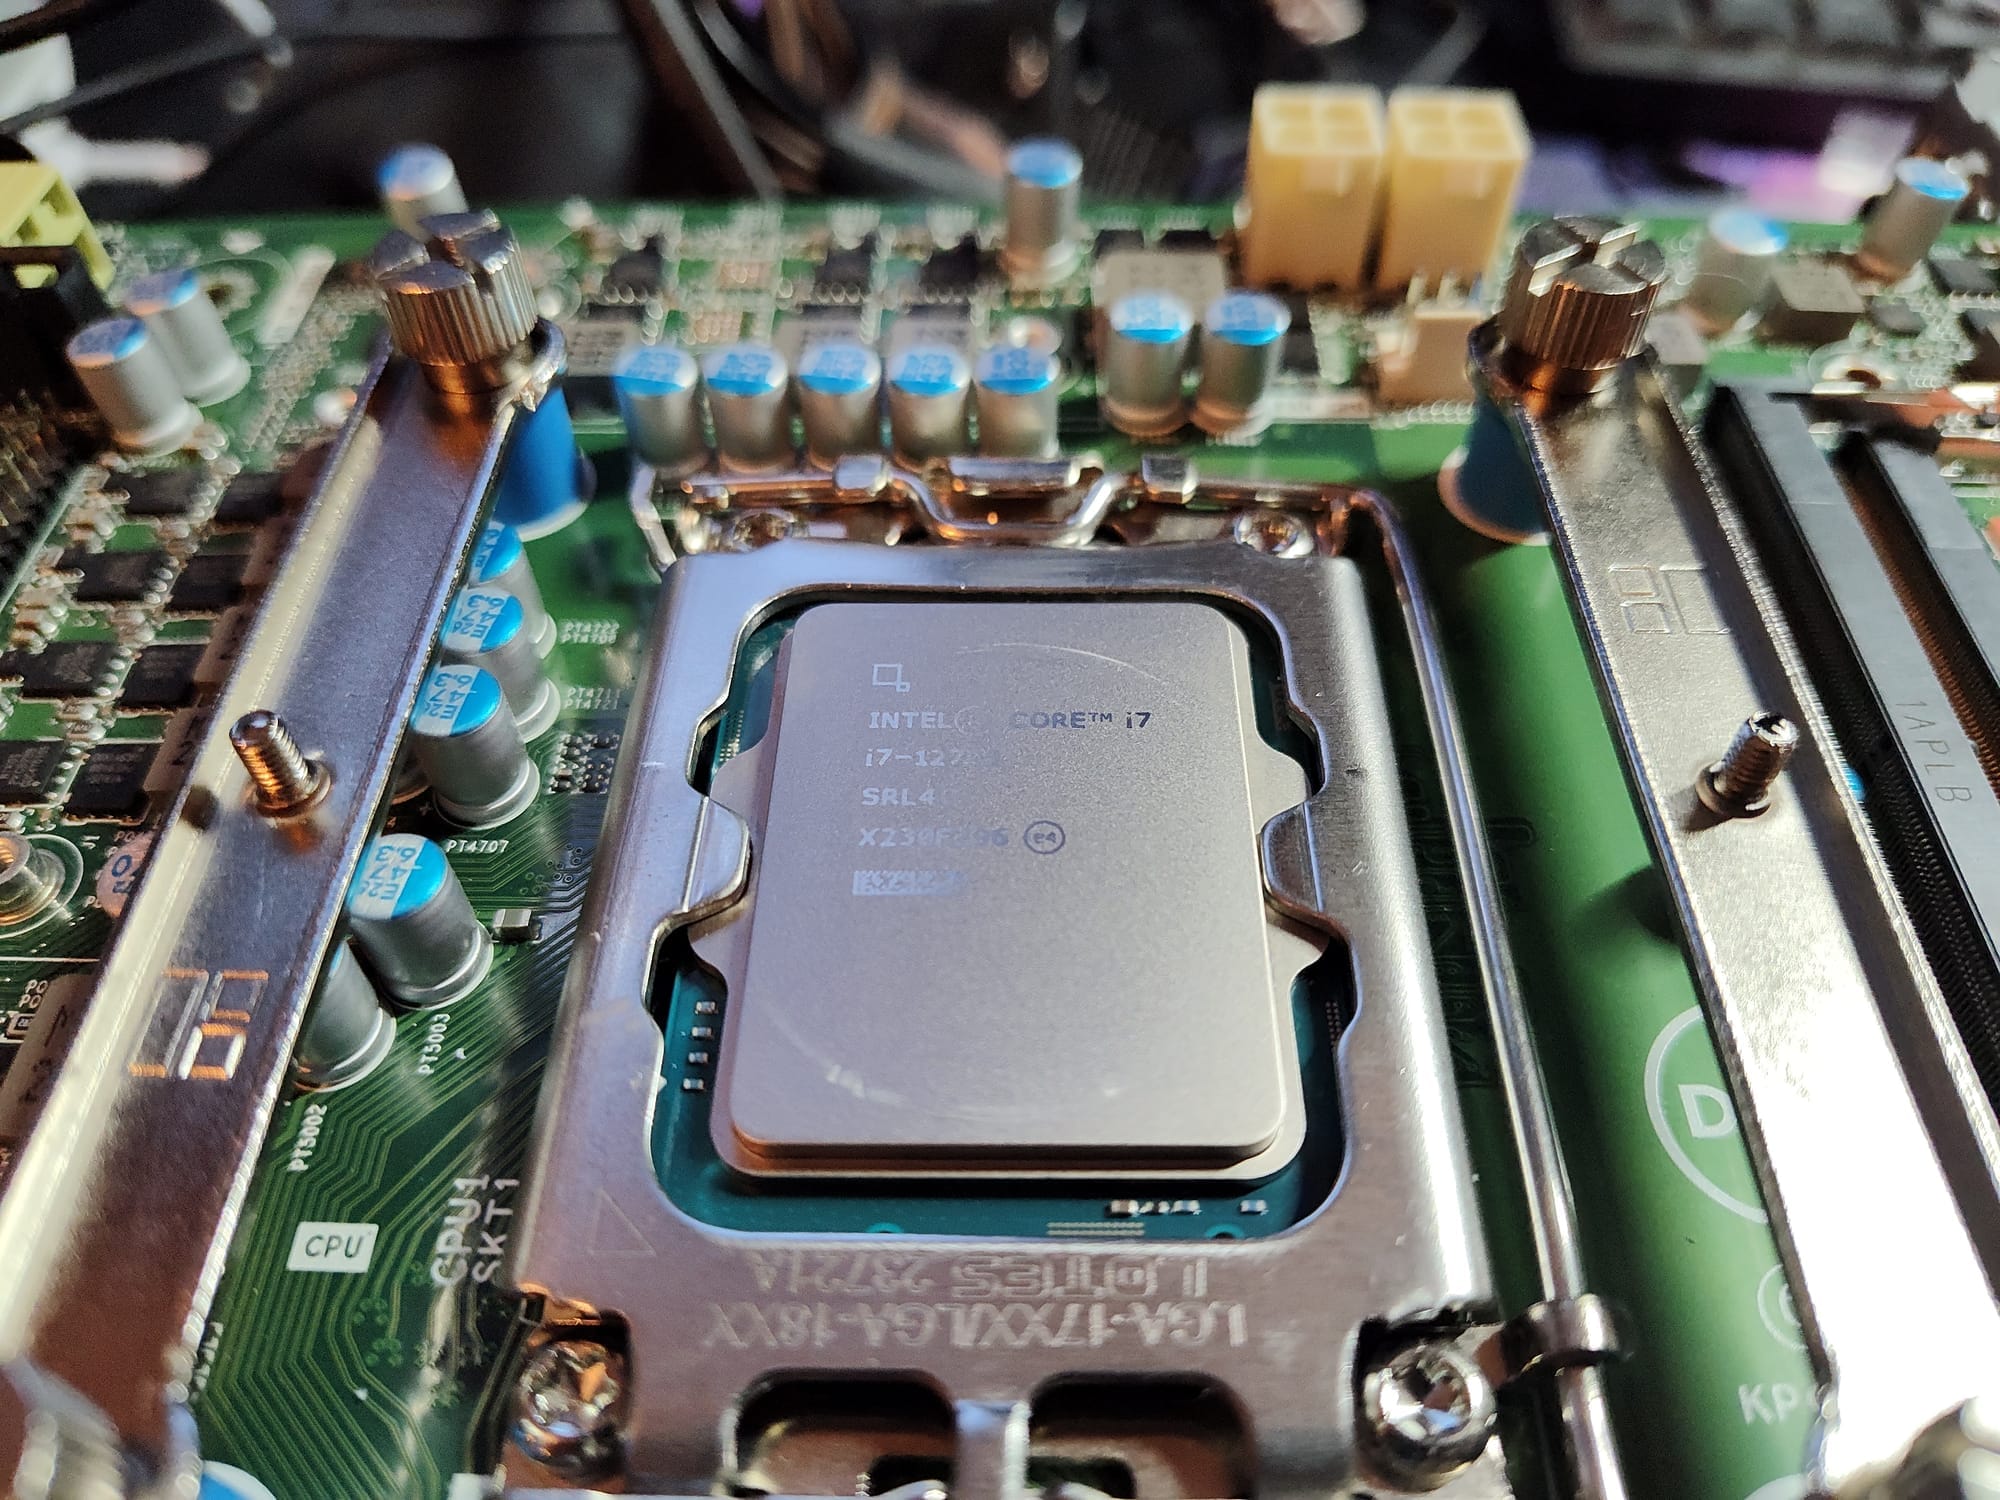
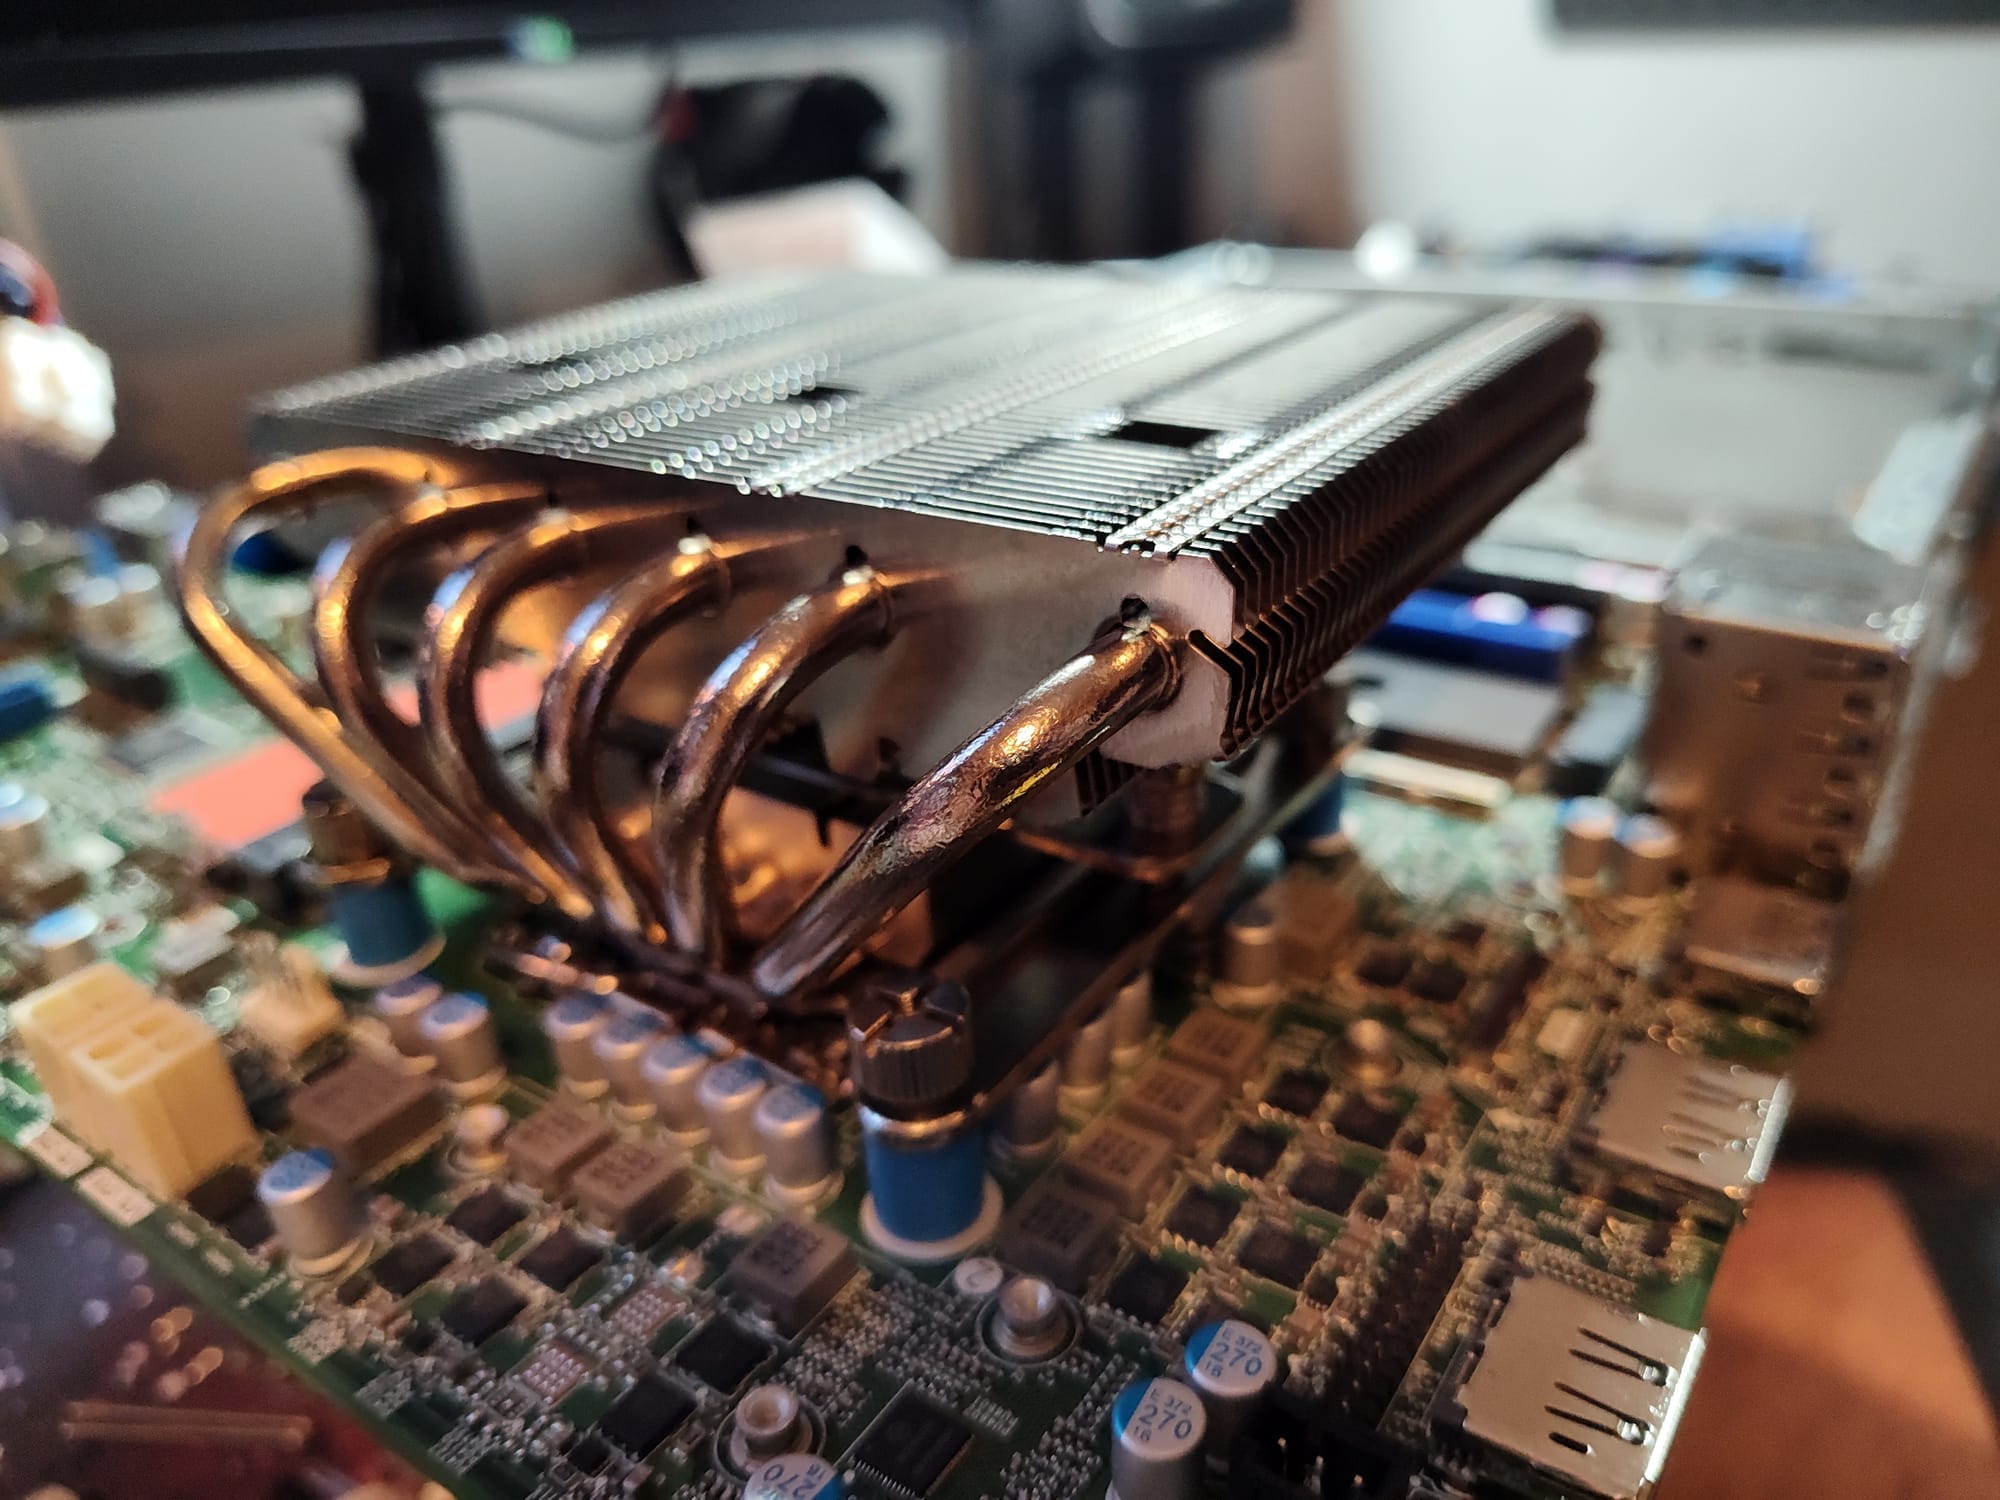
New thermal compound was applied in an X shape, the compound that came with the cooler was dried up and weird so I ended up using some leftover Noctua compound. Here's a photo of the cooler installed and I'm glad to report it fits below the case.
And now for the first major problem - there's not enough room under the motherboard for the CPU cooler backplate! In the photo below I've already removed the stand offs (easily done with a big pair of pliers and pulling/rocking them off) but note the raised section in the middle.
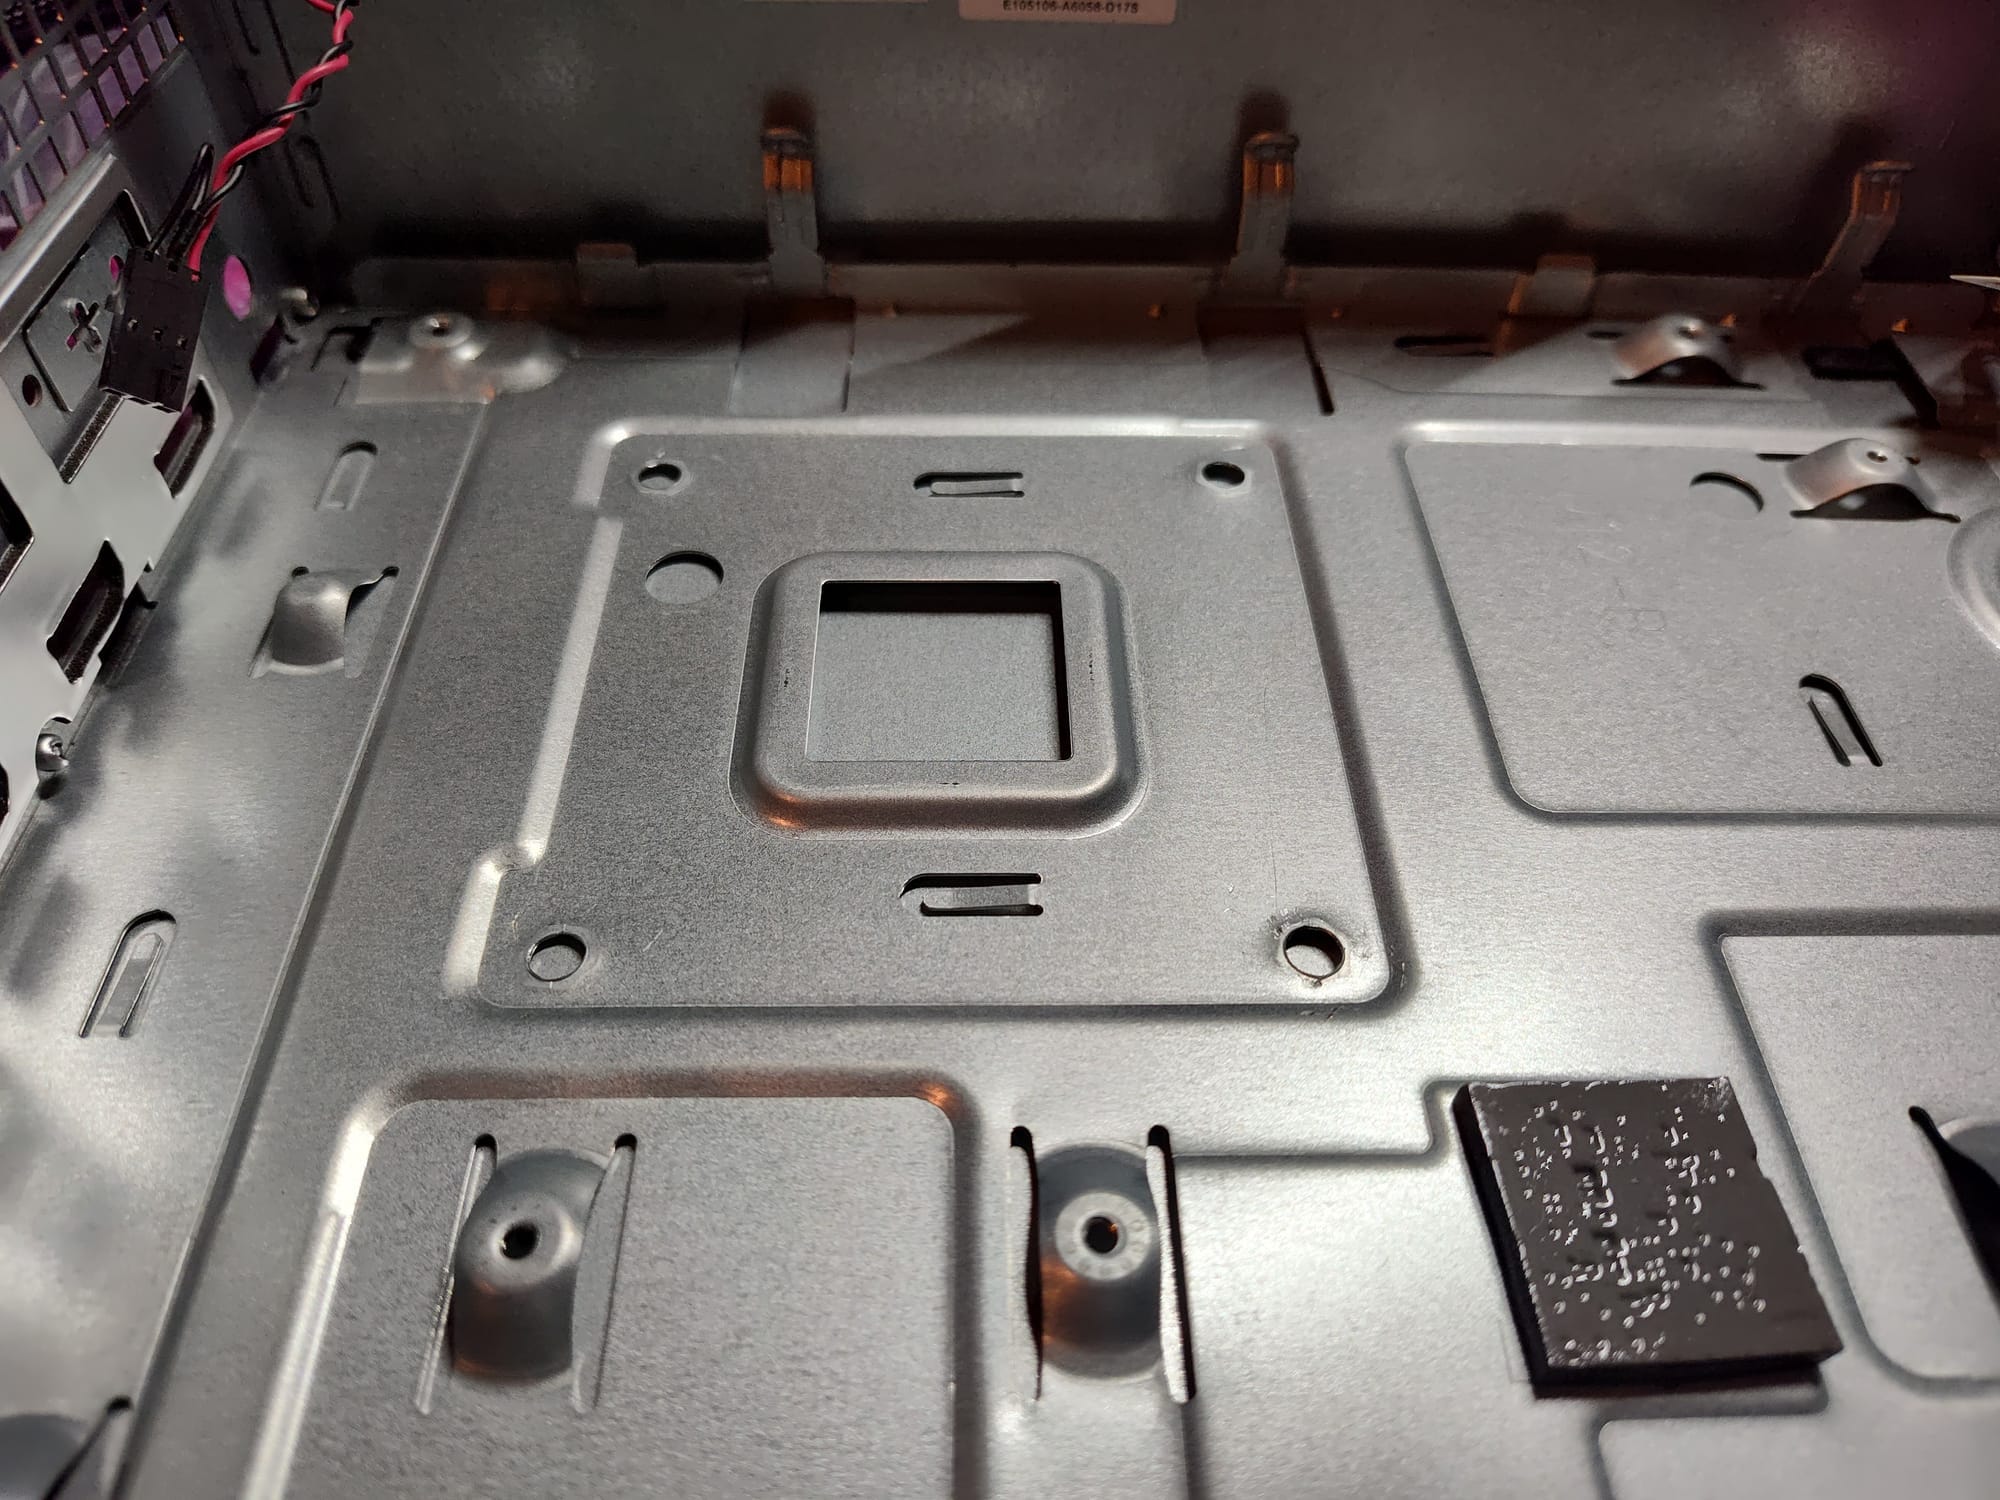
Well that sucks. Dremel time.
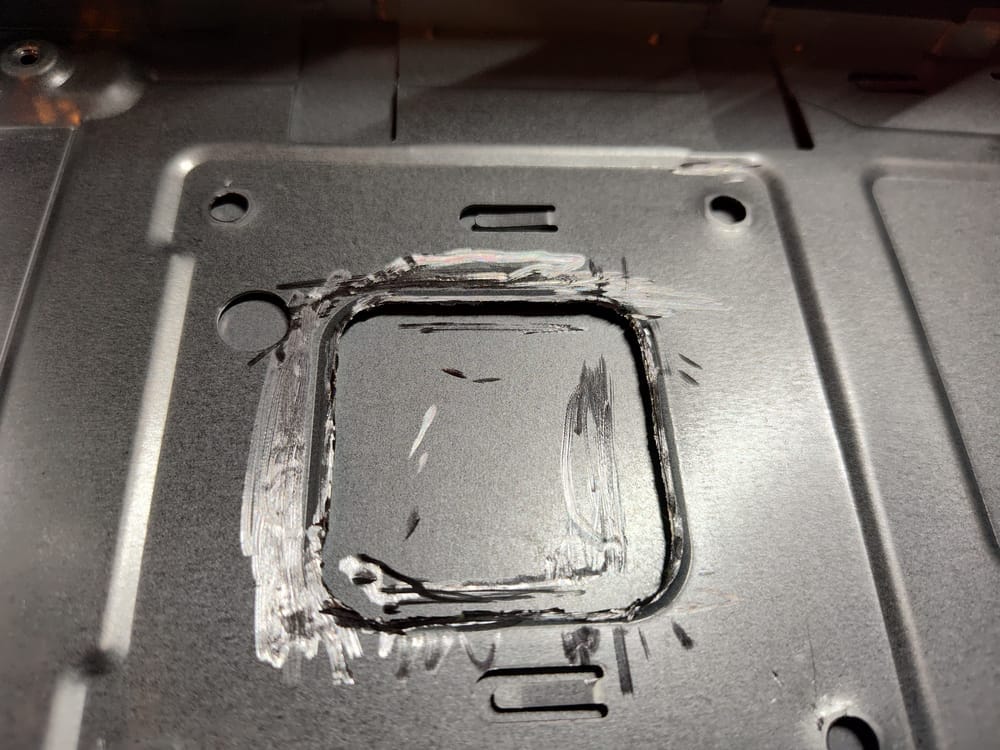
It's not pretty and the backplate is still not sitting right! I'm going to need to cut out a much larger piece of the chassis, outside the stock cooler's mounting holes. It's a worrying proposition because if I cut too deep it'll go through the case and that's not a place I want extra ventilation. I'm not dealing with that now. Know that my motherboard is now bowing inside the case with the screws holding the front and back down with the middle slightly raised. I DO NOT recommend doing this to your own computer or motherboard. Anyway with all that said here's how it looks at the moment.
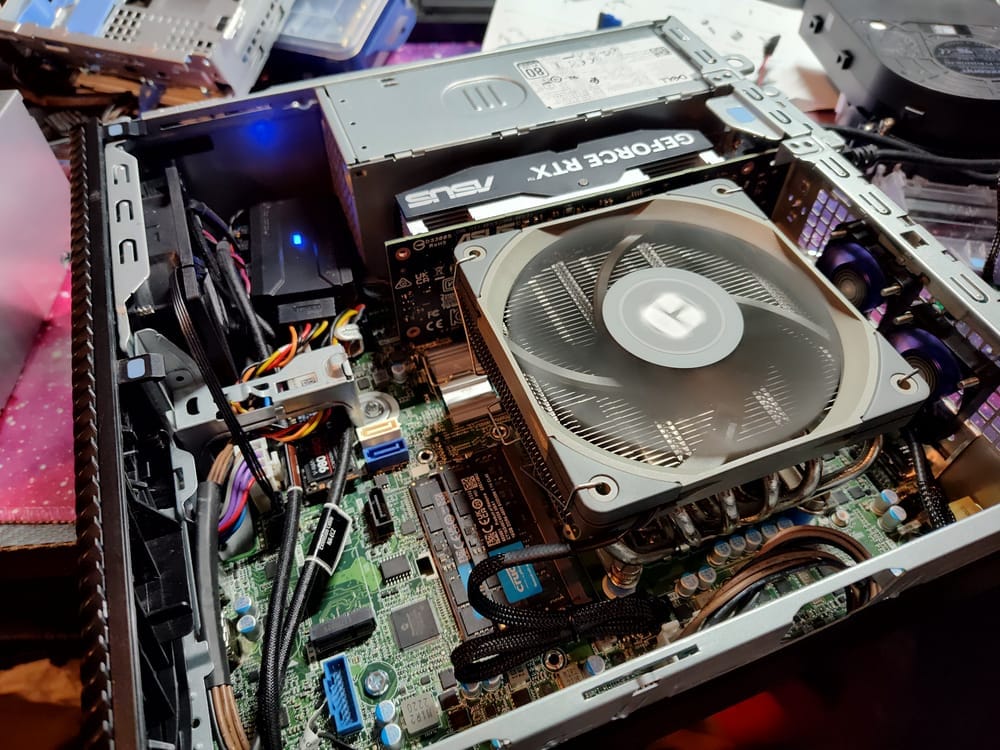
There's more negatives. The SATA frame no longer fits in the case, which is fine for me because I won't be using SATA disks or require an optical drive in the future. It's still an issue though because that frame is part of the chassis and the plastic front cover clips onto it. I'm going to cut it and with all that extra room will try to install another fan in here. Maybe of bigger concern is one of the PCIe NVMe slots is no longer accessible because the cooler blocks access to install the mounting screw, and the screw itself. Electrically it'll still work but mechanically, please don't leave your drives floating around unsecured.
Before I started, when the Precision 3460 was idle it was completely silent until something CPU intensive came along, then it was a hair dryer. Now there's continuous fan noise which never gets louder, but is quite annoying. Idle temps are about 32°c (20°c ambient temps) which I'm happy with but it still throttles back to 90w on the CPU pretty quickly. The cooler's fan is working harder than it should because it's too close to the side panel.
Remember I said I'd get back to the SATA disk frame, well to maintain the structural integrity of the computer (and provide a place for the plastic front panel to clip onto) I'm going to remove everything except those two sides that are required.
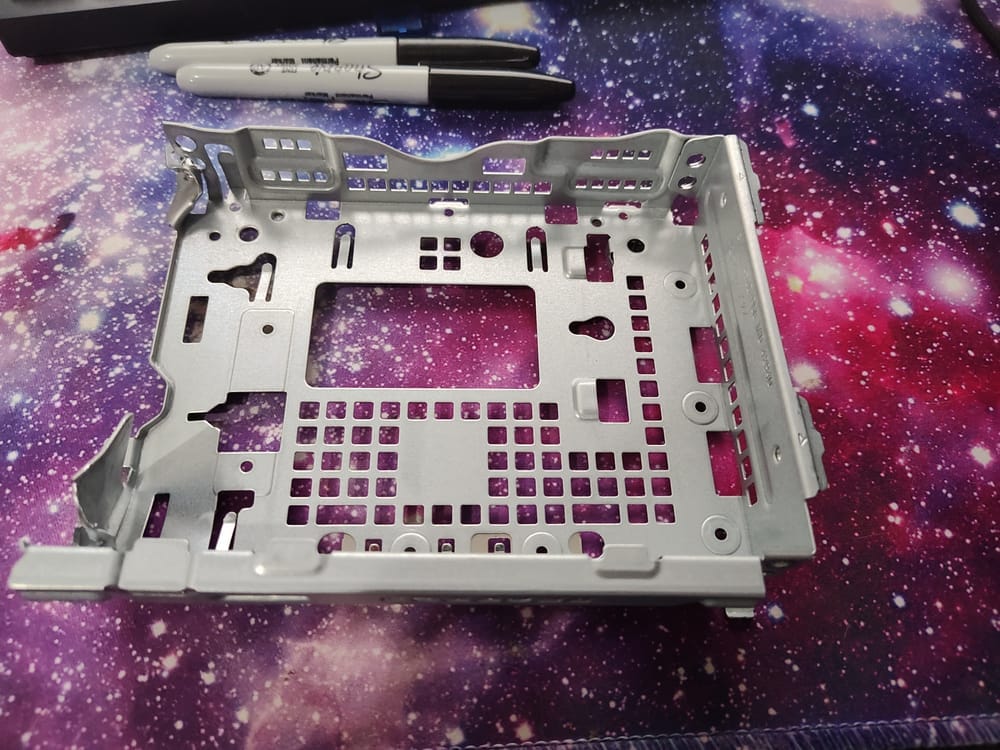
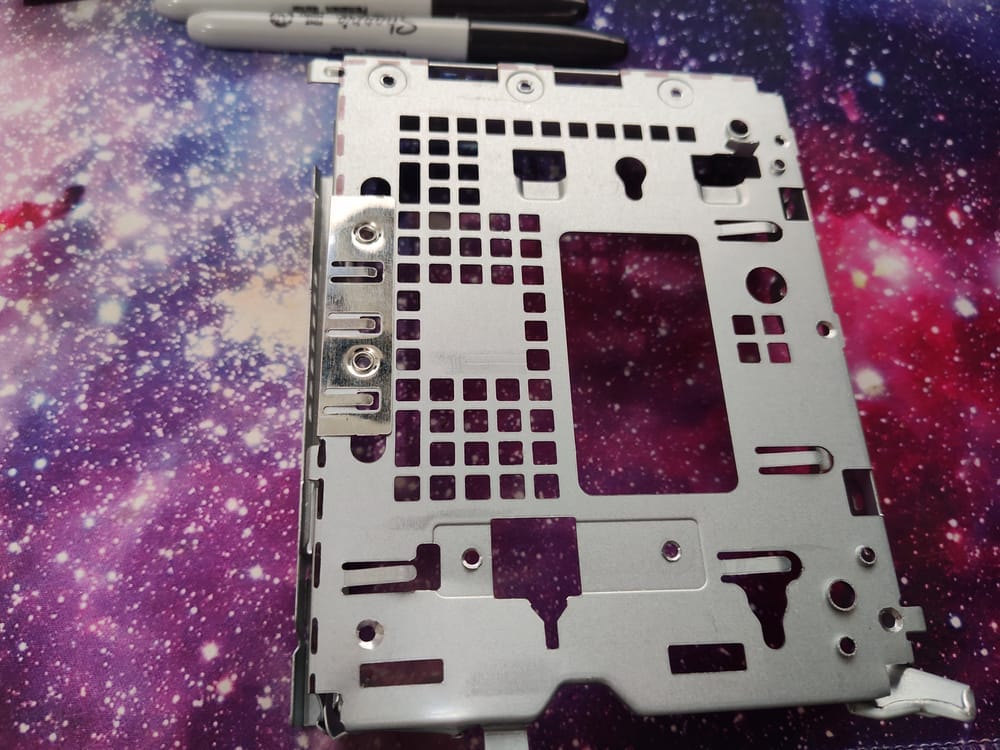
It might be hard to see but I've marked with sharpie where I plan to cut. This will allow for structural integrity.
Still to do: SATA disk frame cut and reinstall, cut a hole in the side panel so the CPU cooler can pull in fresh air, replace the 80mm intake fan with something quieter, upgrade the 15mm tall CPU cooler fan to a 25mm regular height high pressure fan, possibly add a 40mm intake fan where the optical drive would be (and make a mesh replacement filler).
Still to do in the (far) future: Cut out a big hole for the backplate to sit better in the chassis, replace the rear 40mm fans with something more powerful, cut out the predrilled holes on the intake to reduce noise/turbulence.
